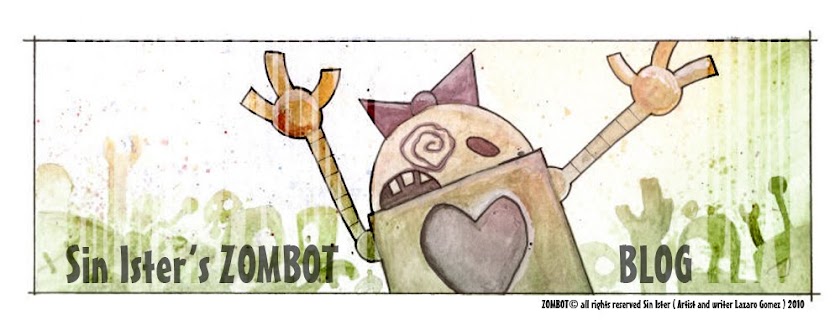
As for the others? I will post them up once the book is done. But for this entry I have posted the book cover version 1. The technical title for the file is ZB_CVR_01 as I try to catalog all my work.
I used the original artwork and Photoshop which is the the style I chose to create ZOMBOT. I'm sure you all have seen the artwork used at Binary 2.0 and on the Facebook page. It was created as a test for the water color effects I wanted to use. I also want to show the process and why it takes so long to create a page in the book.
PROCESS:
1. Stretch Paper - I'm using water color paper that comes in rolls and then cut into tablet sized paper that needs stretching. What that means is that for every page in ZOMBOT, I need to soak the paper in water for 10 seconds and then lay it flat between two pieces of cardboard and weigh it down with heavy objects and let it dry for 1 day. This will make the paper "wave" and then dry flat.
2. Sketch Page - Once dry I can then take a NON PHOTO BLUE pencil and sketch out the page. Why NON PHOTO BLUE? Because that allows me the ability to hide the sketch marks later on.
JOSH WILL.COM - NON PHOTO BLUE Even though ZOMBOT is an illustrated "book" I am treating it as a Comic Book so the process is similar except for the stock or paper type.
3. Paint Cycle 1 - For Zombot I am using water colors that way I can paint in layers. I can also give more dept of field or D.O.F. to the zombies. Not to mention other effects that I will release later on. But this process is my favorite, I color in all the scenes, characters, and environments. This process again wets the paper and I need to let it dry usually 1 hour or 2. but I tend to get to this point at 3am so the next day works better to get to the next step.
4. Inking - By this time the water is dry the page is flat and the NON PHOTO BLUE is still visible and I'm ready to go. I basically laid out a map for this process and the previous ones mentioned above which make my work easy, step by step there is no second guessing. Again this is another favorite of mine. I fell in love with inking from reading comics. I love to see pencil art that is converted to ink ( BY HAND ). Now comics are scanned in and " Inked " using photoshop. Which I use half the process they use for the book and other illustrations, like VUDU RIPLIE.
Hand Ink Comic here
Digital Ink Comic here
Jae Lee is one of my favorite artist, his pencil sketches are later taken into photoshop and " Inked " in.
So I first ink in all the lineart in ZOMBOT and use the Photoshop process for the final.
5. Scanning / Photographing - For Comics people use flat bed scanners with a minimum of 1600 DPI for each page illustrated. I have used this process in the past, however for this I layout the final sketched, colored, inked page and do both scan and photograph. Scanning hides the NON PHOTO BLUE but keeps the paper texture, and Photograph gives me a fast process. It also gives me color options. So this step is a no brainer.
6. Photoshop - Here I use filters, layers, color correction, levels, custom brushes, and a host of other things that remain a ZOMBOT secret. But basically it gives the book its unique look. This process also takes some time, due to the effects and typesetting needed to get each page print ready.
Here is the final result. Cover Page Design #1


No comments:
Post a Comment